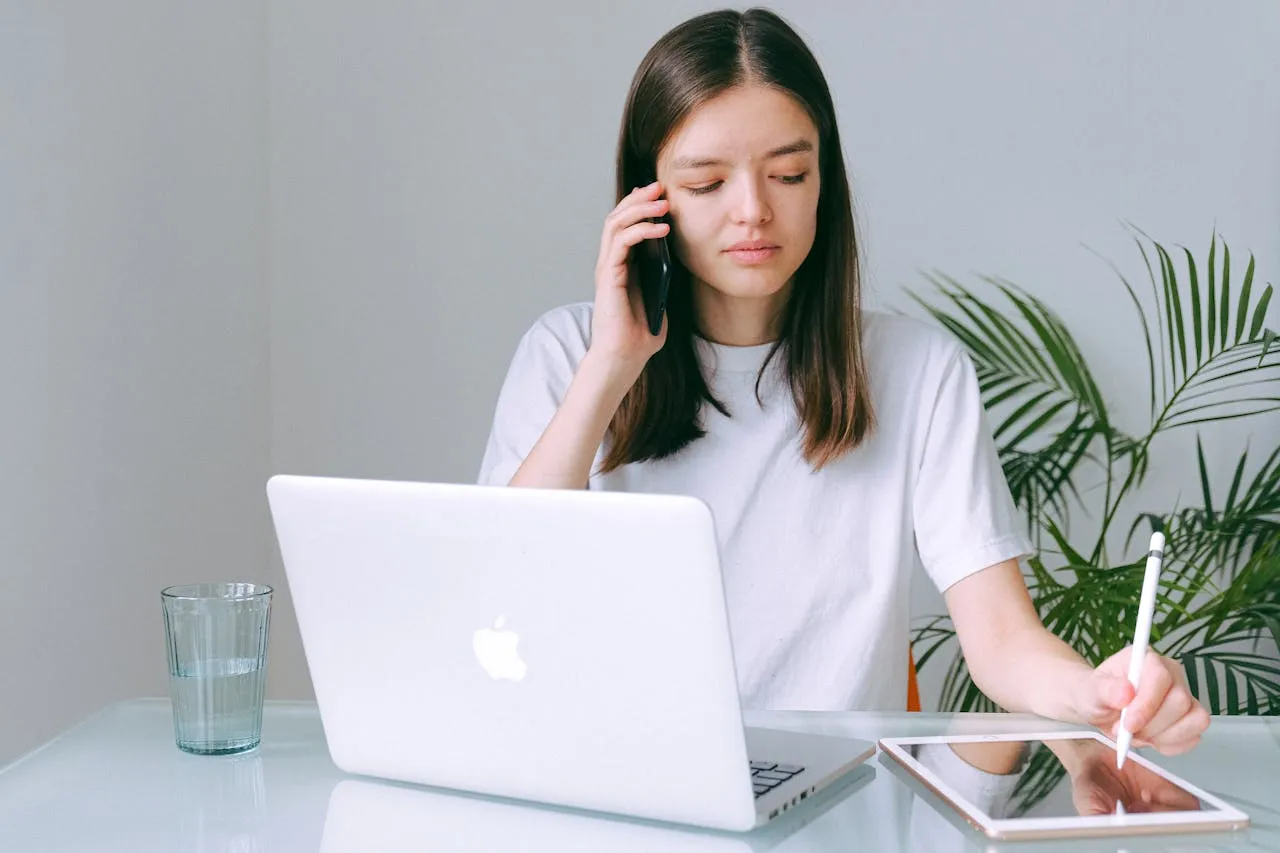
Mac Webcam Settings for Online Meetings
You open Zoom at another important work meeting with your colleagues, wave to the group, and your face appears as a pixel soup. Sounds like a nightmare, isn’t it? Right that second, somebody asks if the café Wi‑Fi is slow. But oops, it isn’t. Thoughts start racing in your mind and you are wondering what to do next.
Now scan your setup: swivel toward a window, nudge a lamp, tilt the lid, wipe the lens. Close the forgotten video filter and quit the background process that hijacked the camera. Those tiny moves often sharpen the image in minutes.
Watch how clearer video relaxes your shoulders and steadies the group’s attention. Glitches are invitations to slow down, sense the moment, then tweak the gear. But sadly, the culprit is almost always deeper, believe it or not. It’s often about muddled Macbook camera settings, tired sensors begging for light, or a background process that hogged the lens first. Fortunately, the fix rarely takes more than fifteen minutes, provided you know where MacOS hides the right knobs.
Unexpected Reboots Mid‑Call?
Sad to say, polished Macbook camera settings won’t help if the Mac powers off at random. Most of us still don’t realize why mid‑way through a board update you might mutter, why does my Mac keep shutting down. I’ve been there too. Reading reports of Mac randomly shutting down showed most incidents link to overheating, dusty vents, or kernel extensions gone rogue. Luckily, you can do something with this information to your benefit. Set a silent timer for five minutes and tend to the machine: let macOS finish its waiting updates, vacuum the vents, and trim the login items you no longer greet each morning. The same cleanup often steadies the webcam driver and lowers fan noise during long calls.
MacBook Camera Settings
As we mentioned above, don’t rush with chasing sliders. It would be a good thing to confirm that the Machine itself can meet the workload. It sounds obvious, yet most blurry feeds I troubleshoot trace back to these three oversights. So what to do? Run the list once, then forget about it until the next major MacOS update.
- macOS 13 Ventura or later. Older builds keep the camera living in the past.
- At least 2 GB of free RAM. Open Activity Monitor › Memory, notice any red bars, and close the apps clawing for space.
- 10 Mbps upload speed minimum. Run fast.com with your call software open; watch the numbers steady.
If the algorithm didn’t work the way you expected and the preview still stutters, reboot once. As it happens, half the time that single act clears a stuck daemon hoarding CPU.
Camera Settings on MacBook
Clear permissions are clear boundaries when they settle, the camera wakes, the fan hushes, and your attention sharpens for the call ahead. Just so you know, MacOS sandboxes the webcam behind permissions. Until you flip the switch, the feed stays dark. To put it another way, think of this step as unlocking the studio door before turning on the lights. For sure, tight scopes reduce conflicts and free bandwidth for the chosen meeting client.
- Apple menu → System Settings.
- Right away go to Privacy & Security → Camera.
- Allow only the apps you trust; switch the rest off
MacOS Camera Settings & Permissions in Depth
They say that a few extra seconds here prevent frantic clicking later. After each toggle, glance at your meeting preview to confirm the change registered.
- Teams or Zoom still blank? Quit and reopen the app permissions load at launch.
- Lens indicator light off? Another app may be squatting. Use Command–Space, search “Activity Monitor,” sort by “Camera.” Force‑quit the offender.
Apparently, Apple’s own privacy note walks through the same flow and is handy if you need screenshots for a less technical teammate.
How to Make MacBook Camera Quality Better. Light, Lens, Layout
Settings alone can’t overcome bad lighting, so invite gentler illumination before you touch another slider. One desk lamp in the right spot beats three overhead fluorescents every time. When the glow falls forward and even, the webcam often shifts from “potato” to “presentable,” and your face relaxes right along with it:
- Key light: place a warm bulb about 45 degrees from your face. Watch how a small turn of the lamp lifts the shadows on one cheek and loosens your jaw.
- Fill light: a weaker bulb on the opposite side to soften contrasts. A softer light often mirrors a softer internal stance.
- Back light: optional LED strip behind your chair to separate you from the wall. As the outline sharpens, sense your own edges in the space.
- Clean the lens—yes, really. A fingerprint looks like built‑in noise reduction gone wrong. Feel the little swipe of cloth as a reset between tasks.
- Enable HD (or 720p if bandwidth dips) inside the meeting software. Pause after toggling the setting and let your breath catch up with the clearer image.
Why Is My MacBook Camera So Grainy?
Tiny sensor + low light = high gain noise. The cure lives in simple acts that also quiet the body:
- Close bright windows behind you; fact for you information: the camera compensates by over‑boosting ISO. Notice how the room’s glare dials down.
- Add a daylight‑balanced LED at eye level and feel the even wash of light ease the strain behind your forehead.
- Move closer to the screen because doubling light intensity at the lens halves perceived grain. With each step forward, track the sensation of the floor supporting you and the clarity rising on‑screen.
When everything sharpens, linger a second before speaking. The clarity you see is mirrored in the steadiness you’ve grown by pacing each adjustment with awareness.
Bandwidth & Background
A sharp image still fails if it freezes mid‑sentence. Hence, stabilize the connection first, then refine the visual frame.
- Ethernet whenever possible.
- If Wi‑Fi is the only option, switch to the 5 GHz band and sit closer to the router.
- Drop resolution one notch (HD → SD) if upload hovers below 5 Mbps.
- Use MacOS Portrait blur sparingly; on older GPUs it can raise latency.
For background, it would be best to choose a plain wall or shallow bookshelf. Avoid stark back‑lighting as silhouettes defeat every quality adjustment you just made.
Wrap‑up
Obviously, optimizing MacOS camera settings isn’t wizardry. All you need to do is confirm hardware basics, grant camera permissions deliberately, add correct lighting, and test bandwidth. Do your best to keep a short daily routine and a longer monthly maintenance sweep. Small actions transform a grainy, stop‑motion thumbnail into a clear, steady presence, so when you speak, listeners land on your ideas instead of your image glitches.