How to add a black background to a photo?
The photos in black look very attractive. There are many ways to add a black background to a photo using a photo editor, and we'll tell you how to add it while you're still shooting. In our guide, we will tell you how to black out the background on a photo. You can also find more of how to black out the background on a photo in Skylum`s blog. There are many more interesting topics out there, so you won't get bored!

Photoshop
Method 1
Take a tool in your hand (The Magic Wand tool in Photoshop). To speed up the process, uncheck the Adjacent pixels checkbox on the options bar (above). This action allows us to select all areas of the same color at once.
Next, you need to analyze the picture. If our background is white, and the object itself is not monochrome, then we click on the background, and if the image has a monochrome fill, it makes sense to select it.
- Now cut (copy) the object to a new layer with CTRL+J.
- The rest is simple: create a new layer by clicking on the icon at the bottom of the panel.
- Fill it with black color using the Fill tool.
Method 2
This technique can be applied to pictures with simple content. We need a newly created layer, painted with the desired (black) color.
From this layer, you need to make it invisible by clicking on the eye next to it, and moving to the bottom, the original layer.
Then everything happens as described above: take the “Magic Wand” and select the apple, or use another convenient tool. Go back to the layer with the black fill and make it visible. Create a mask by clicking the desired icon at the bottom of the panel.
Method 3
A great option for images with a completely white background. Make a copy of the original picture (CTRL+J) and invert it in the same way as the mask, that is, by pressing CTRL+I. Then there are two ways. If the object is monochrome, select it with the Magic Wand tool and press Delete. Invert the selected area by pressing CTRL+SHIFT+I and delete it.
Movavi Picverse
Movavi Picverse is a simple photo editor for beginners and amateurs. Despite the simplicity of the interface, the program presents a set of excellent, powerful tools for working with photos. You can edit the background in just a few clicks!
Click the Open Photo button (+ icon) in the upper left corner of the program. In the window that opens, select the desired file and click Open.
On the right side of the monitor, you will see the icon Change background—this is what we need!
You can use several tools for this: automatic selection, brush, or lasso.
Use this tool if there are people in the picture, so the outline will be clearer. To do that, click the Auto Selection button on the sidebar.
To select the object that should remain in the frame, click the Brush+ button and draw several green strokes inside the object. You don't need to paint over the object completely - Picverse will automatically detect the borders.
To select the background you want to replace, click the Brush button and apply red strokes to the background of the image.
You can correct the irregularities with the Eraser tool.
After selecting the object and the background on the image, the program will outline the object boundary. If the outline is uneven, add red or green strokes in the right places.
Select the Lasso+ tool and select the object you want to leave in the photo. And use the Lasso tool to select the background.
Click Next Step to continue.
The background that we selected in the previous step will be automatically removed. Then you can already choose a new background or leave it transparent and save the picture.
To keep the background transparent, click the button with the white and gray square icon to the left of the palette.
To change the background from gray and plain and add a photo of the ocean or Paris, click the Add Picture button and select the desired picture. Two clicks and you already have a new background on the photo.
Click Apply to save the settings. It remains to download the new photo: select the diskette icon in the upper right menu of the screen or through the menu: File—Save/Save As.
Fotor Bbackground Remover
Fotor's background remover is arguably the quickest and most convenient way to add a black background to your images. With Fotor's AI technology, you can effortlessly remove the background and replace it with a new one.
To begin, upload the image you want to replace the background for, and Fotor's background removal tool will accurately remove background, leaving only the main subject of the image.
Then, select black from the options below, and with just one click, you can replace the background with the black color you desire. Of course, apart from black, there are many other colors to choose from.
You can even click on "AI background," and Fotor will provide you with AI-generated background options for your image.
Finally, click download to obtain an image with a black background.
Make the background black during shooting
We need to determine the exposure at which the background becomes black. To do this, set the M mode, shutter speed equal to the sync speed (usually 1/200 - 1/250 sec), ISO to the minimum, then adjust the aperture to cut off the natural light completely.
Then you need to select the power of the flash to adequately expose the subject. I should note that this method is not suitable for shooting with a built-in flash or an external flash that is mounted on the camera.
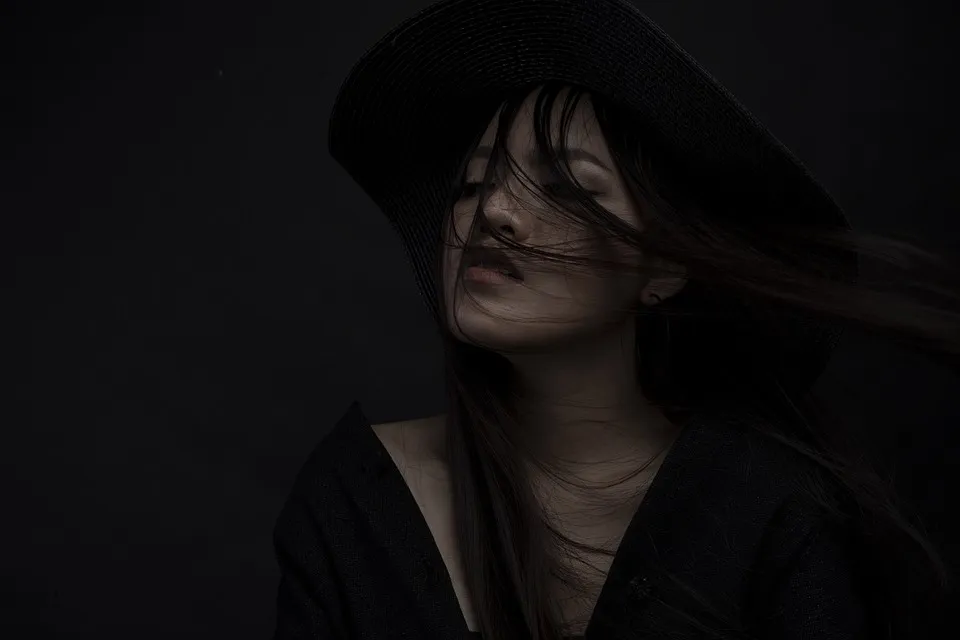
Try it and you will succeed! See how beautiful black background for photos can be.
For those seeking a unique way to showcase their photos, consider transforming them into stunning Canvas Photo Prints, adding a touch of elegance to your captured moments.