How to Share Screen in Live Meeting for Free
As we all know, real demonstration speaks louder than specified instruction in words, which also applies to an online meeting for attendees from different places. Hence, ezTalks provides you with 3 modes of free online meeting screen sharing.
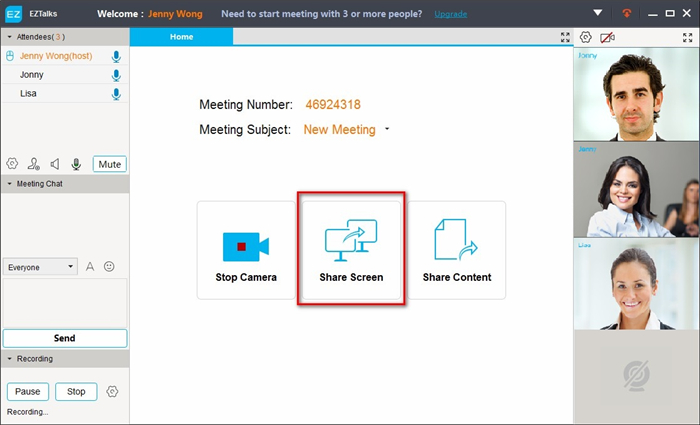
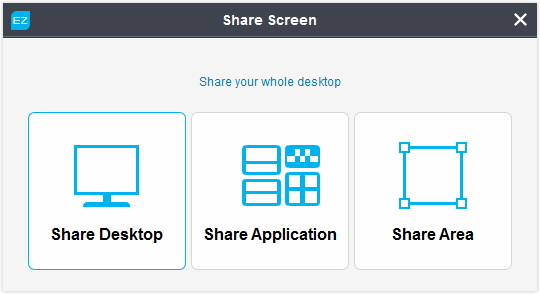
First of all, login ezTalks with your account and click “Start Meeting” on the main interface to proceed to the interface of virtual meeting room. Then click “Share Screen” and a window would pop up asking you to choose a mode to share screen.

Mode 1: Share Your Whole Desktop
Click “Share Desktop” to start desktop screen sharing and attendees can see everything on your desktop.

Mode 2: Share the Window of Selected Application
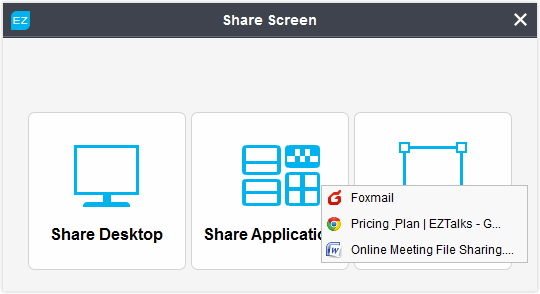
Click “Share Application” and select an application you’re running in the drop-down menu, then attendees can see just selected application instead of everything on your desktop screen.

Mode 3: Share the Window of Selected Area
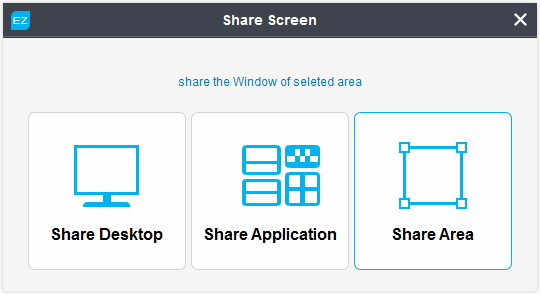
Click “Share Area” and attendees can see a rectangle-size screen on your desktop screen. You can drag or alter the rectangle to share your desired area with attendees.

Note: Whichever mode you choose, there’ll be a screen share toolbar in the top as the picture below.

① Click “Stop” to stop webinar screen sharing.
② Click “Pause” to pause sharing screen and click “Start” to restart screen sharing conference.
③ Click “Share Screen” to freely switch screen sharing mode mentioned above.
④ Click “Control by” and select attendees in the drop-down menu to request/share control in live meeting.
⑤ Click “Annotate” and a list of drawing tools would pop up allowing you to make annotation on the desktop screen/application/selected screen you’re sharing. Click “unannotate” to stop annotating.

⑥ Click “Chat” to open chat window and a second click on it would make the window disappear.